Building a wine cellar monitoring system - Part 2 : Creating a native Java library
In this article, we will to create a native library so that our C driver can be used from Java. We will also create a jar that includes the library. We generate our outputs using Github Actions with the help of cross-compilation and even publish our jars there as packages!


This article is part 2 on my series on how I built a wine cellar monitoring system using #java and a #raspberry pi. You can go here for the first article about the setup.
Last time, we stopped as soon as we were able to communicate with our sensor using some C code. Today, we will create a bridge between C and Java, and create a jar we can use later as driver for our sensor. We'll also look into how to do that using Github Actions to avoid having to compile on the raspberry itself.
This article is meant to explain what I have done step by step. Have a look at the final repository if you want a complete picture!
Creating the Java bridge
Last time, we saw that by reusing a driver from Adafruit we were able to communicate with our sensor using the following C code :
What we want to do now is be able to call the same thing, but from Java. For this, we will use the Java Native Interface.
What we will do is the following :
- Compile the C code as a library (maybe you're used to the word .dll, or .so for linux systems. We'll call that library
libdht11. - We'll tell Java to use that library
- We'll create a Java method that will make use of that library. The method we want will make a request to the DHT11 and return 2 floats. We will be able to recognize that method because it will use the
nativekeyword.
Here is how it looks like :
To use this now, we'll have to do some juggling.
We first tell Java to create a C header file based on that Java file :
$ cd src/main/java;
$ javac -h . nl/lengrand/cellar/Dht11Driver.java
This will generate a nl_lengrand_cellar_Dht11Driver.h file. This file describes the interface between our C code and our Java. The file naming convention is based upon the java package naming and the class name we used.
We then implement the logic for that .h file in a corresponding DhtDriver.c file.
This C code might be a little confusing but in essence here is what we do :
- We call our
pi_2_dht_readfunction. - We allocate an array of float of size 2, in a way that Java will understand
- We set the result of the call to the array of float and end it back
Note that we have to import the .h header file we generated during the last step, as well as the jni.h file coming from our JDK that will make the JNI float array as well as other needed tools available to us.
Note: This code is very barebone, we hardcoded the pin on which the DHT11 is placed, and return a float array where we could have decided to return an object. We can surely improve on that later.
We compile all the source code together to create our .dll.
This looks almost like our compilation line from the last article, except that we will add some extra files :
- We need to include the libraries from Java to be able to use JNI.
- We also need to include our bridge files.
- We will make use of the
-sharedoption to create a native library.
$ INCLUDES = -I. -I../java  -Iadafruit/Raspberry_Pi_2 -I$(JAVA_HOME)/include -I$(JAVA_HOME)/include/linux
$ HEADERS = ../../../target/headers/nl_lengrand_cellar_Dht11Driver.h adafruit/common_dht_read.h adafruit/Raspberry_Pi_2/pi_2_mmio.h adafruit/Raspberry_Pi_2/pi_2_dht_read.h
$ FILES = adafruit/common_dht_read.c adafruit/Raspberry_Pi_2/pi_2_mmio.c adafruit/Raspberry_Pi_2/pi_2_dht_read.c Dht11Driver.c
$ OUT = libdht11

$ gcc -shared -fPIC -o $(OUT).so $(INCLUDES) $(FILES)
Note: This compilation needs to happen on the raspberry!
If we run this code, it will generate a libdht11.so file!
Finally, we create some Java code to test if our JNI bridge is working as expected!

That's it! We just managed to call our DHT11 from Java!
Now, that's a first step but it needs a lot of manual labor. Let's make this more sustainable.
Automating the toolchain
Creating a Makefile for the library
The first thing we want to do is create a Makefile for all of our C code. It will allow us to make sure the generated code is included and placed in the correct place as well as allow for cleanup :
The nice thing about that Makefile is that using the same code we can generate the native library as well as the test program we used in the first article.
Embedding the native library inside the jar
By default, the native library we generated will have to be placed somewhere on the system that the pi will be able to access (a typical location could be /usr/lib on linux).
I don't like that option because it will force me to interact with my raspberry again every time I generate a new version of my library. Ideally, I'd like my dll to be included inside my Jar file!
All we have to do is modify our Dht11Driver.java class to use the NativeUtils.
Putting it all together using Maven
Let's create a pom.xml that will do everything we need in order in only one command. Here is what we need to happen:
- Generate the JNI header file from our Java driver
- Compile the native library based on all the source files
- Compile the Java all our Java code!
- Generate a fat jar that will embed everything we need to use the library
- Optionally, generate a new version of the Jar and publish it online
Here is how it looks like :
Some interesting facts :
- The
maven-compiler-pluginwith the-hargument is generating our header file. - Once this is done, we use the
exec-maven-pluginto run the Makefile we created earlier. - We use the
maven-assembly-pluginto generate a fat jar that will embed our native library. - Note that we give it a Main class, so we can test the library easily on the raspberry by downloading the jar and simply running
$ java -jar cellar-driver-1.1-jar-with-dependencies.jar
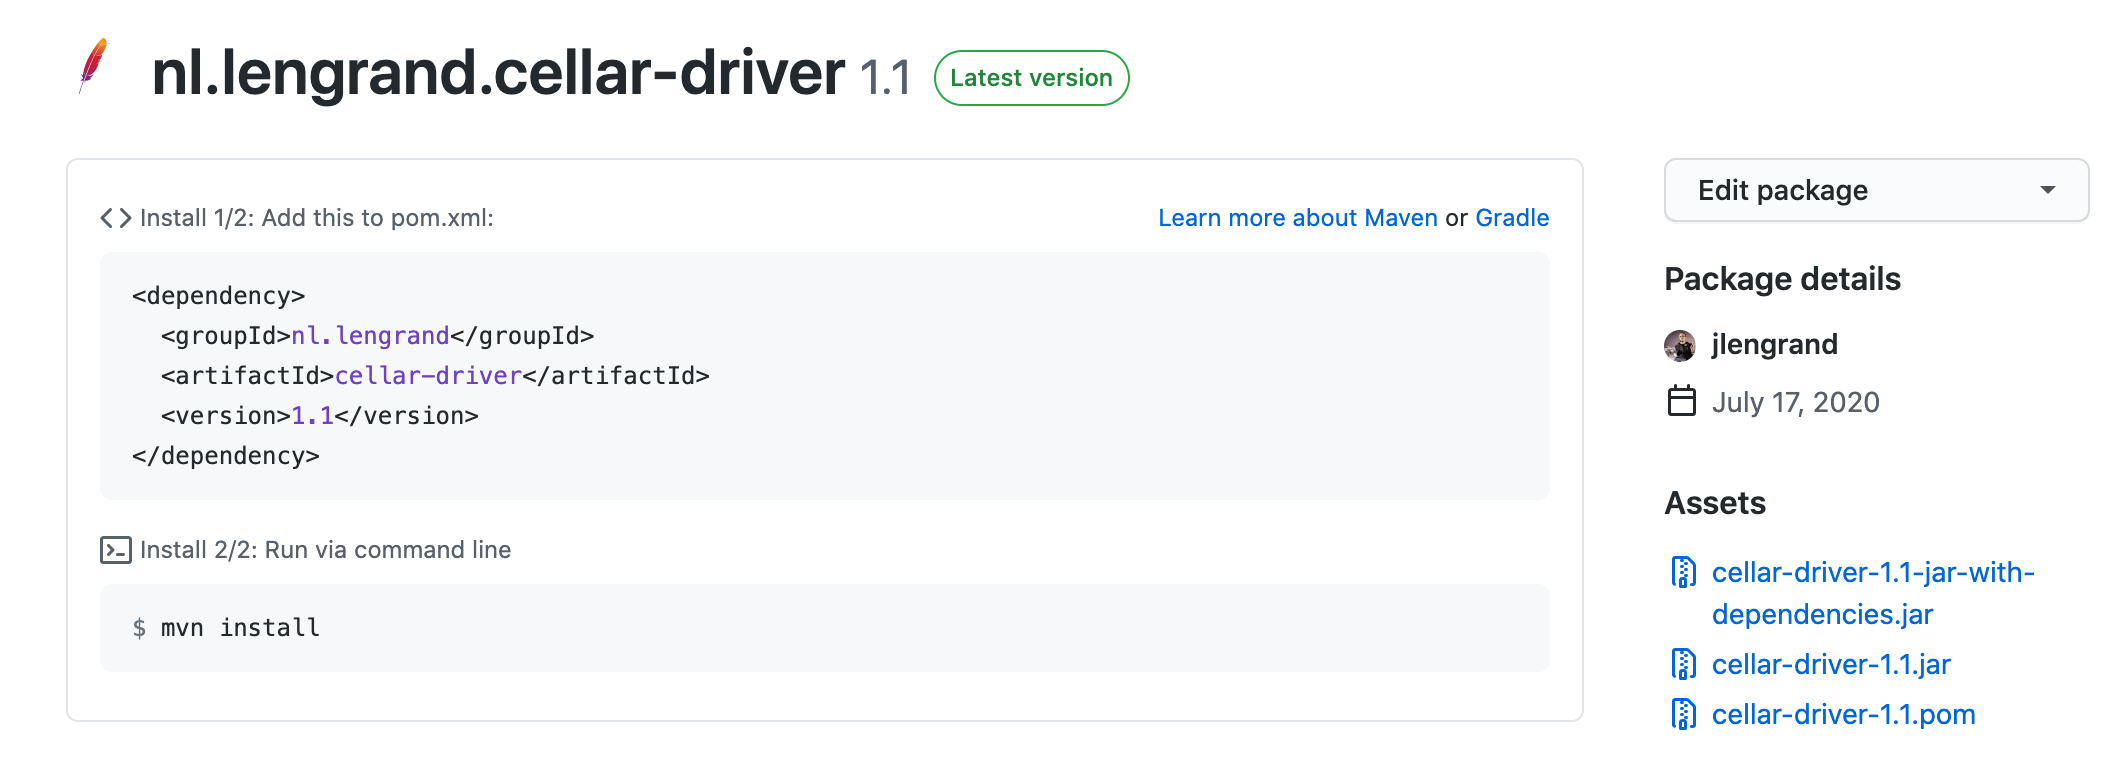
- We use Github Packages to distribute our jars. You can read more about it here
I love using Github for publication management because it allows me to have a nice jar available together with my Github repository.
Cross-Compiling and using Continuous Integration
We have achieved everything we wanted, but not exactly where we wanted :)! Indeed, even if everything works as expected, we still are forced to run everything on the raspberry (remember, we're using a platform dependent native library!).
This has several drawbacks:
- It forces me to ssh into my pi every time I change the code
- The pi is much slower than my laptop for compilation.
- I cannot test my chain easily, because trying to compile the C code crashes on my Mac. The libraries are only compatible with an ARM architecture.
Cross-compiling the libraries
This is where cross-compilation comes into play! Cross-compilation will basically allow me to compile the library on my MAC (even though I will not be able to run it) in a format that will be meant for my Raspberry.
Cross-compilation can be a hairy subject because it requires you to understand exactly what is running where and what architecture your code will be running on.
Luckily, some amazing people have been creating toolchains ready for us to use! In this case, we will use the nice packages from abhiTronix! Using them is actually quite simple
- Find which raspberry you have and download the correct package for it
- Uncompress the package in your local system
- Update your
LD_LIBRARY_PATHandPATHso that the toolchain is available for your system - Run your Makefile, but in this case by replacing
gcc(which is your local C compiler) witharm-linux-gnueabihf-gcc. In my case I simply needed to update myMakefile. - Profit!
Cross-compilation requires quite a lot of setup and can be very confusing at the beginning because it gives obscure errors. However it also brings crazy benefits because you can basically compile for other architectures without having access to the proper hardware!
Introducing Continuous Integration
Now, let's compile everything in the cloud! This last step is not required per se but it has several nice benefits:
- Having a single file with all the setup allows to reproduce it on other systems easier in the future
- I don't need to have the toolchain on my local system any more.
- Because everything gets triggered automagically, I can focus on coding !
For this, we will be using the newly released Github Actions.
To get this working, we will pretty much reproduce what we already have, and add it as part of a workflow file. Here is the file I currently have :
I invite you to read the documentation for a complete overview of what is happening, but in a nutshell :
- The main thing is the final call for
mvn -B deploy - We leverage
actions/setup-java@v1to setup Java for us - Most of the commands before Maven are the cross-compilation toolchain described in the last part
- We use
actions/upload-artifact@v1to create an archive with the outputs every time our CI runs
The nice thing is that the chain will run completely automatically every time we push to master, or create a pull request. I simply have to check here to see the status of my build, and check the outcome of the build.
Note : As an added bonus, the build runs actually faster on Github than on my local MBP! Also, this workflow is actually quite dumb as is, because it makes 0 use of caching, this probably should be improved in the long run.
Conclusion
That's it! In this article, we managed to create a bridge so that our C drivers can be used from Java. We also managed to create a jar that includes the native libraries, which avoids us to fiddle wit the raspberry too much. And as an added bonus, we generate our outputs automatically on Github, and even publish our jars there as packages! This will be very useful for us next time when we will create our server!
- You can see the complete repository here
- To check the series of article, have a look here
- Hit me up on @jlengrand if you have questions!